Observação
Seu nome de perfil para sua conta do GitHub é necessário. Todas as outras informações de perfil descritas neste artigo são opcionais.
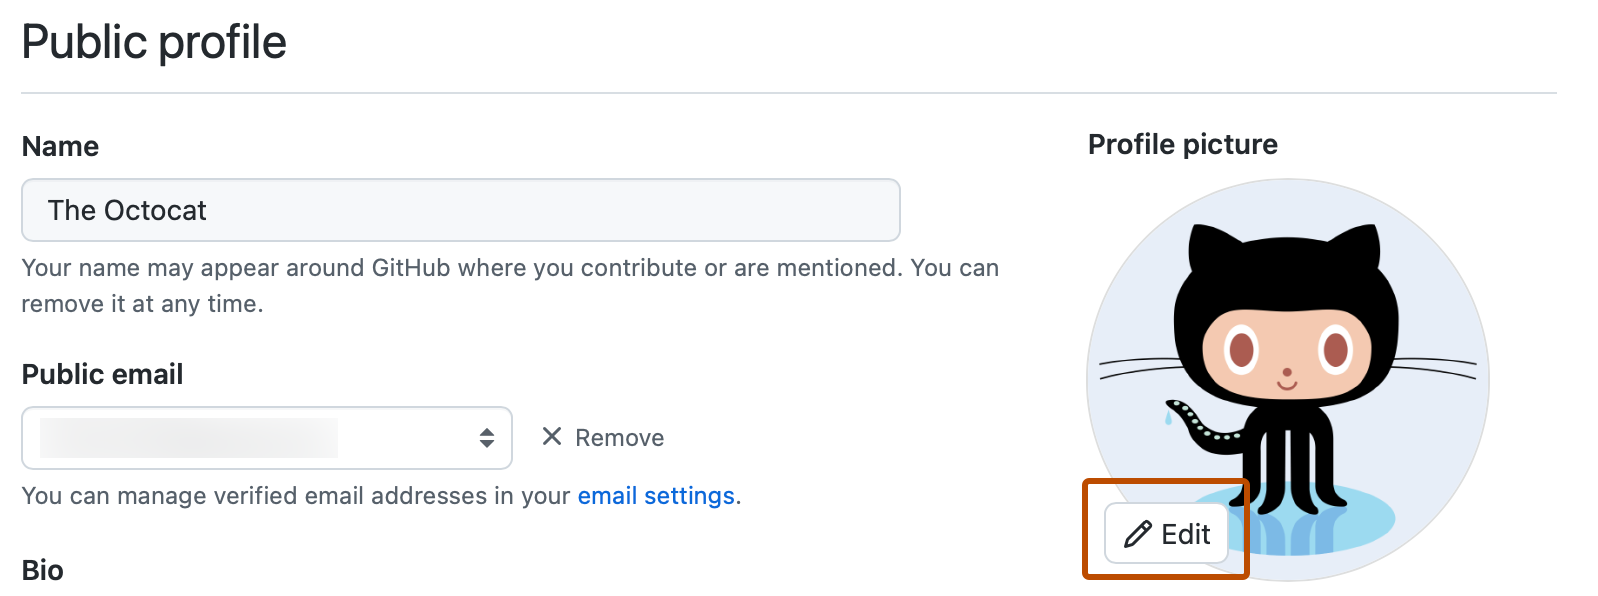
Alterar sua imagem de perfil
Sua imagem de perfil ajuda a identificar você GitHub em solicitações de pull, comentários, páginas de contribuições e gráficos.
Definir uma imagem de perfil
-
No canto superior direito de qualquer página do GitHub, clique em sua imagem de perfil e, em seguida, clique em Configurações.
-
Em "Imagem do Perfil", selecione Edit e clique em Upload a photo....
-
Selecione uma imagem e clique em Carregar.
-
Recorte sua imagem.
-
Clique em Definir nova imagem de perfil.

Redefinir sua imagem de perfil para a identicon
-
No canto superior direito de qualquer página do GitHub, clique em sua imagem de perfil e, em seguida, clique em Configurações.
-
Em "Imagem de Perfil", selecione Editar e clique em Remover foto para reverter para o identicon.
Se o seu endereço de email estiver associado a um Gravatar, você não poderá reverter para o identicon. Em vez disso, clique em Reverter para Gravatar.
Alterar seu nome de perfil
Seu GitHub nome de perfil não precisa se correlacionar com sua identidade do mundo real.
- No canto superior direito de qualquer página do GitHub, clique em sua imagem de perfil e, em seguida, clique em Configurações.
- Em "Perfil Público", no campo "Nome", digite o nome que você deseja que seja exibido no seu perfil.
Adicionar uma bio ao seu perfil
-
No canto superior direito de qualquer página do GitHub, clique em sua imagem de perfil e, em seguida, clique em Configurações.
-
Em "Perfil público", no campo "Bio", digite o conteúdo que você deseja que seja exibido em seu perfil. O campo bio é limitado a 160 caracteres.
Dica
Quando você @mention uma organização, somente aquelas das quais você é membro terão o preenchimento automático. Você ainda pode @mention organizações das quais não é membro, como um empregador anterior, mas o nome da organização você não terá o preenchimento automático.
-
Clique em Atualizar perfil.
Como adicionar pronomes ao seu perfil
Adicione pronomes ao seu perfil de usuário público para compartilhar informações sobre si mesmo com outros usuários GitHub .
-
No canto superior direito de qualquer página do GitHub, clique em sua imagem de perfil e, em seguida, clique em Configurações.
-
Em Pronomes, adicione os pronomes que você deseja que sejam exibidos em seu perfil. Você pode adicionar pronomes personalizados.
-
Clique em Atualizar perfil.
Definindo sua localização e fuso horário
- No canto superior direito de qualquer página do GitHub, clique em sua imagem de perfil e, em seguida, clique em Configurações.
- Em "Perfil público", no campo "Local", digite o local que você deseja que seja exibido em seu perfil.
- Opcionalmente, exiba a hora local atual em seu perfil.
- Selecione Exibir hora local atual.
- Selecione o menu suspenso Fuso horário e clique no fuso horário local.
- Clique em Atualizar perfil.
Adicionar links para contas sociais
É possível adicionar até quatro links para contas sociais em seu perfil.
- No canto superior direito de qualquer página do GitHub, clique em sua imagem de perfil e, em seguida, clique em Configurações.
- Em "Contas sociais", no campo "Link para perfil social" em branco, digite a URL completa da conta social. Por exemplo, para a conta do Twitter
@GitHub, digitehttps://twitter.com/github. - Clique em Atualizar perfil.
Adicionar a iD do ORCID ao seu perfil
Se você realiza pesquisas e tem uma iD do ORCID, é possível realizar a identificação ao adicionar a iD do ORCID ao seu perfil.
- No canto superior direito de qualquer página do GitHub, clique em sua imagem de perfil e, em seguida, clique em Configurações.
- Em “iD do ORCID”, clique em Conectar a iD do ORCID.
- Siga as etapas para entrar em sua conta ORCID e, em seguida, retornar para GitHub.
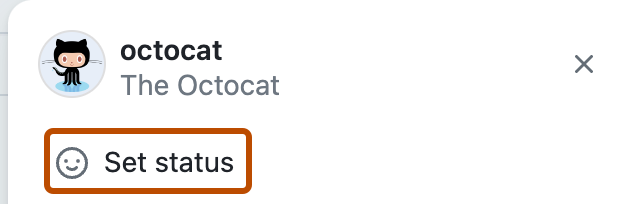
Definir um status
Você pode definir um status para exibir informações sobre sua disponibilidade atual.
-
No canto superior direito, clique na imagem do GitHubperfil e clique em Definir status ou, se você já tiver um conjunto de status, clique no status atual.
-
No campo "O que está acontecendo", digite uma mensagem de status.
-
Opcionalmente, para definir um status de emoji, clique e clique em um emoji da lista.
-
Como opção, se você deseja compartilhar que tem disponibilidade limitada, selecione "Busy".
-
Selecione o menu suspenso Término e escolha quando você deseja que seu status expire. Caso não selecione um prazo de validade, o status será mantido até que você o limpe ou o edite.
-
Selecione o menu suspenso Visível para e clique nas pessoas para as quais você deseja que seu status fique visível. Se não selecionar uma organização, seu status será público.
-
Clique em Definir status.

Próximas etapas
-
Para saber mais sobre perfis GitHub, consulte Sobre seu perfil.
-
Para obter informações de referência, confira Referência de perfil.
-
Para obter personalizações de perfil mais detalhadas, consulte Instruções sobre sua conta e perfil do GitHub.