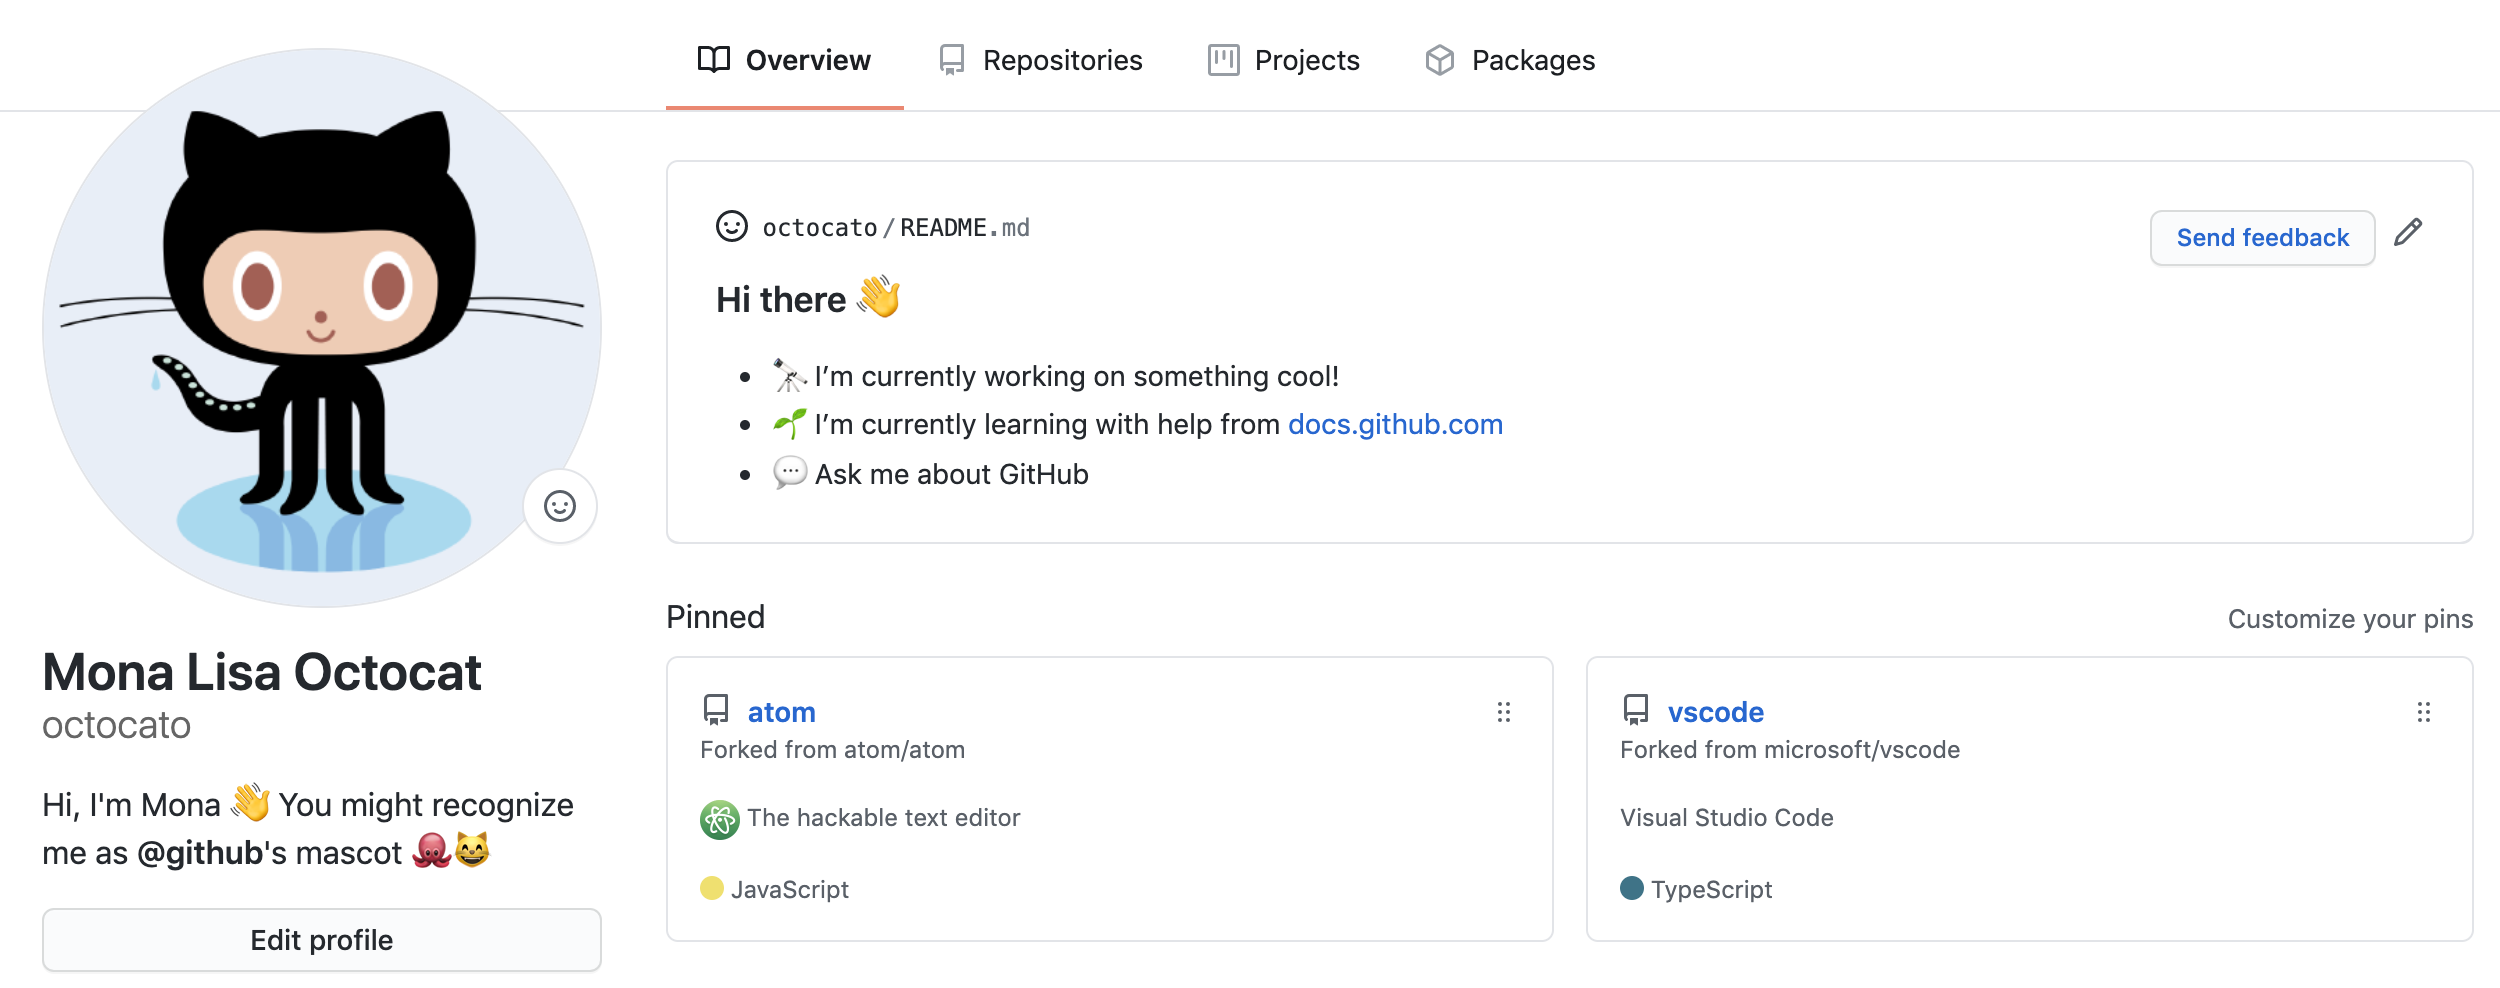
プロフィール README について
プロフィール README を作成すると、GitHub で自分に関する情報をコミュニティと共有できます。 GitHub では、プロフィールページの上部にプロフィール README が表示されます。
プロフィール README に含める情報を決めることができるため、GitHub で自分に関するどのような情報を表示するかを完全に制御できます。 アクセスしたユーザがあなたのプロフィール README を見て、興味深い、楽しい、役立つと感じる可能性のある情報の例は次のとおりです。
- あなたの仕事や興味について説明した「自己紹介」セクション
- あなたが誇りに思っているコントリビューションとそれらのコントリビューションについてのコンテキスト
- あなたが関連しているコミュニティでサポートを得るためのガイド

GitHub Flavored Markdown を使用して、テキストをフォーマットし、絵文字、画像、GIF をプロフィール README に含めることができます。 詳しくは、「GitHub での記述と書式設定の開始」をご覧ください。 プロフィール README のカスタマイズに関するハンズオン ガイドについては、「GitHub 上での書き込みに関するクイックスタート」を参照してください。
前提条件
GitHub は、次のすべてに該当する場合、プロファイル ページにプロファイル README を表示します。
- GitHub ユーザ名にマッチする名前のリポジトリを作成した。
- リポジトリがパブリックである。
- リポジトリのルートに README.md という名前のファイルが含まれている。
- README.md ファイルに任意のコンテンツが含まれている。
メモ
2020 年 7 月以前にユーザー名と同名のパブリック リポジトリを作成していた場合、GitHub のプロフィールにはリポジトリの Readme が自動的に表示されません。 GitHub のリポジトリに移動して [プロフィールで共有] をクリックすると、リポジトリの README を手動でプロフィールに共有できます。
プロフィールの README を追加する
-
ページの右上隅で を選択し、 [新しいリポジトリ] をクリックします。
![新しいアイテムを作成するオプションを示す GitHub ドロップダウン メニューのスクリーンショット。 [新しいリポジトリ] というメニュー項目が濃いオレンジ色の枠線で囲まれています。](/assets/cb-29762/images/help/repository/repo-create-global-nav-update.png)
-
[Repository name] の下に、GitHub のユーザ名とマッチするリポジトリ名を入力します。 たとえば、ユーザ名が「octocat」の場合、リポジトリ名は「octocat」である必要があります。
-
必要に応じて、[説明] フィールドにリポジトリの説明を入力します。 たとえば、「個人リポジトリ」などです。
-
[パブリック] を選択します。
-
[Initialize this repository with a README] (このレポジトリを README で初期化する) を選択します。
-
[Create repository] (リポジトリの作成) をクリックします。
-
右側のサイドバーの上にある [README の編集] をクリックします。
生成された README ファイルには、プロフィール README のアイディアを得るためのテンプレートが事前入力されています。
使用できるすべての絵文字とそのコードの概要については、「Emoji cheat sheet」(絵文字チート シート) を参照してください。
プロフィール README を削除する
次のいずれかに該当する場合、プロフィール Readme は GitHub プロフィールから削除されます。
- Readme ファイルが削除されたか空になっている。
- リポジトリがプライベートになっている。
- 一方または両方の名前が変更されたため、リポジトリ名がユーザー名と一致しなくなった。
The method you choose is dependant upon your needs, but if you're unsure, we recommend making your repository private. リポジトリをプライベートにする方法については、「リポジトリの可視性を設定する」を参照してください。