Starting a session
-
In GitHub Mobile, tap the icon in the bottom right corner of the screen, then tap New Session.
-
Using the dropdown menu in the prompt field, select the repository you want Copilot to work in.
-
Enter a prompt describing your request.
For example:
Implement a user friendly message for common errors.If you want Copilot to open a pull request, you can ask in your prompt, for example
Open a pull request to implement a user friendly message for common errors. -
Optionally, select a base branch for Copilot's changes. Copilot will create a new branch based on this branch.
-
Si vous le souhaitez, sélectionnez un assistant personnalisé avec un comportement et des outils spécialisés dans le menu déroulant. Pour plus d’informations, consultez « Création d’agents personnalisés pour Agent cloud Copilot ».
-
Si vous le souhaitez, vous pouvez utiliser le menu déroulant pour sélectionner le modèle, que Copilot utilisera. Si le modèle sélectionné prend en charge le raisonnement configurable, vous pouvez également utiliser le menu déroulant pour sélectionner le niveau de raisonnement. Pour plus d’informations, consultez « Modification du modèle IA pour GitHub Copilot agent cloud ».
-
Click the submit button.
Copilot will start a new session, work on the task, and push any code changes.
Assigning an issue to Copilot
- In GitHub Mobile, navigate to the repository that contains the issue you want to assign to Copilot.
- Click Issues.
- Open the issue that you want to assign to Copilot.
- Tap the icon.
- Beside "Assignees", tap Edit.
- Beside "Copilot", click the plus sign.
- Click Done.
Tracking your sessions
You can see a list of your running and past pull requests generated by agents in GitHub Mobile.
-
In the "Agents" section on the GitHub Mobile Home page, tap Agent Tasks.
A list of the currently open pull requests, that you asked Copilot to generate, is displayed.
-
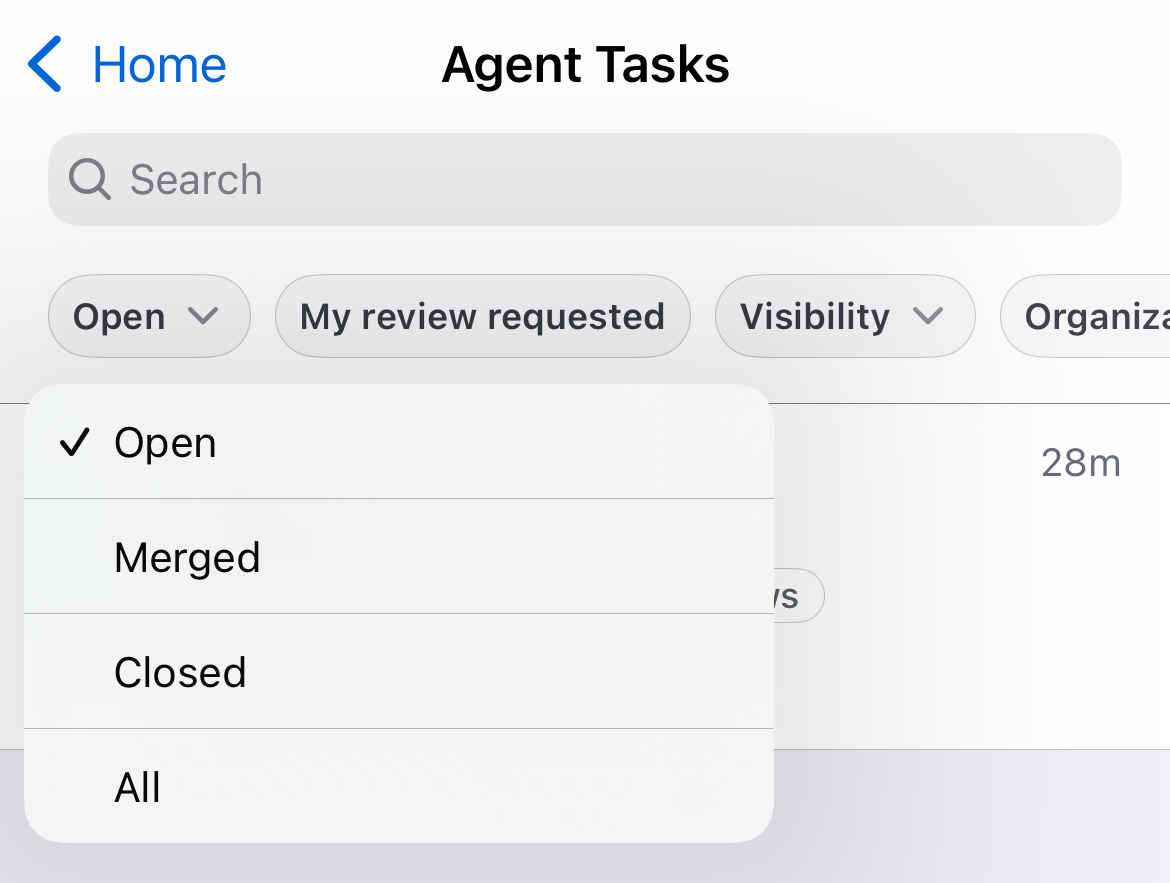
Use the buttons at the top of the list to filter the list of pull requests.
For example, to show only merged tasks, tap Open and then, in the dropdown, tap Merged.