Opções de notificação de alertas da organização
Se você for proprietário de uma organização, você receberá notificações de e-mail por padrão quando os integrantes da organização adicionarem novas chaves de implantação nos repositórios dentro da organização. Você pode cancelar a assinatura dessas notificações. Na página de configurações de notificação, em "Alertas da organização", desmarque Email.
Escolhendo para onde as notificações de e-mail da sua organização são enviadas
Se pertencer a uma organização, você poderá escolher a conta de e-mail em que deseja receber as notificações da atividade da organização. Por exemplo, se pertencer a uma organização para fins de trabalho, talvez você queira receber as notificações no seu endereço de e-mail profissional, e não no endereço pessoal.
Você receberá e-mails de notificação apenas se tiver optado por receber notificações por e-mail nas configurações de notificação.
-
No canto superior direito de qualquer página, clique em .

-
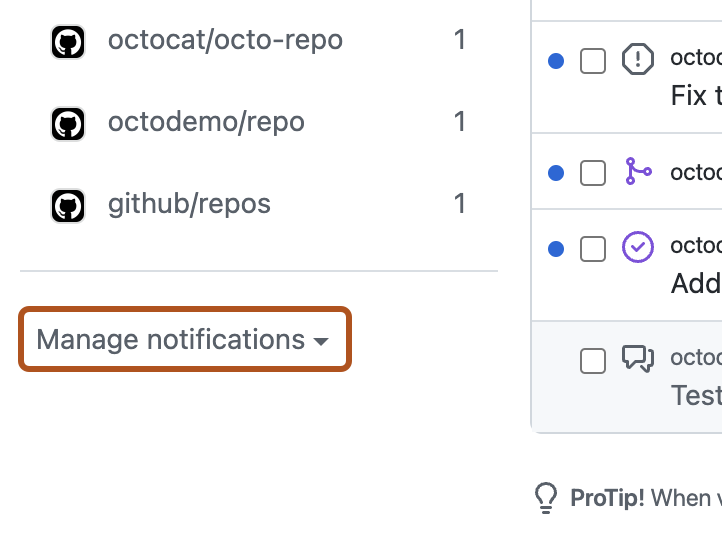
Na barra lateral esquerda, na lista de repositórios, use a lista suspensa "Gerenciar notificações" para clicar em Configurações de notificação.

-
Em "Email padrão de notificação", selecione o endereço de email em que deseja receber as notificações.
-
Clique em Salvar.
Personalizar rotas de e-mail por organização
Se você for integrante de mais de uma organização, você poderá configurar cada uma para enviar notificações para qualquer um dos os endereços de e-mail para a sua conta.
-
No canto superior direito de qualquer página, clique em .

-
Na barra lateral esquerda, na lista de repositórios, use a lista suspensa "Gerenciar notificações" para clicar em Configurações de notificação.

-
Na lista em "Custom routing", localize o nome da sua organização na lista.
-
Clique em Editar ao lado do endereço de email que deseja alterar.
-
Selecione um dos seus endereços de email verificados e clique em Salvar.