Options de notification des alertes d’organisation
Si vous êtes propriétaire d’une organisation, vous recevez des notifications par e-mail par défaut lorsque les membres de l’organisation ajoutent de nouvelles clés de déploiement aux dépôts au sein de l’organisation. Vous pouvez vous désabonner de ces notifications. Dans la page des paramètres de notification, sous « Alertes d’organisation », désélectionnez E-mail.
Choix de l’emplacement où les notifications par e-mail de votre organisation sont envoyées
Si vous appartenez à une organisation, vous pouvez choisir le compte e-mail auquel vous souhaitez envoyer les notifications pour l’activité de l’organisation. Par exemple, si vous appartenez à une organisation pour le travail, vous souhaiterez peut-être que vos notifications soient envoyées à votre adresse e-mail professionnelle plutôt qu’à votre adresse personnelle.
Vous recevez uniquement des e-mails de notification si vous avez choisi de recevoir des notifications par e-mail dans vos paramètres de notification.
Si une organisation dont vous êtes membre limite les notifications par e-mail à un domaine de messagerie approuvé, vous devez vérifier une adresse e-mail dans ce domaine pour recevoir des notifications par e-mail sur l’activité de l’organisation. Pour plus d’informations, consultez « Limitation des notifications par e-mail de l’organisation ».
-
Dans le coin supérieur droit de n’importe quelle page, cliquez sur .

-
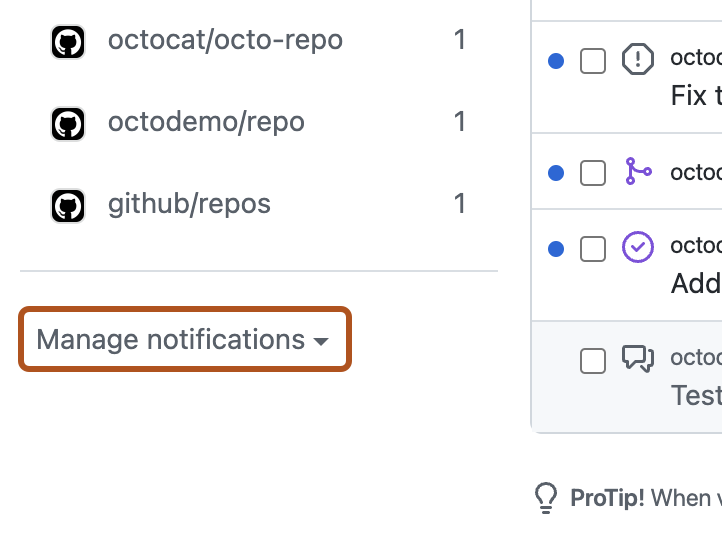
Dans la barre latérale à gauche, sous la liste des dépôts, utilisez la liste déroulante « Gérer les notifications » pour cliquer sur Paramètres de notification.
-
Sous « E-mail de notifications par défaut », sélectionnez l’adresse e-mail à laquelle vous souhaitez recevoir les notifications.


Personnalisation des routes de messagerie par organisation
Si vous êtes membre de plusieurs organisations, vous pouvez configurer chacune d’elles de façon à envoyer des notifications à n’importe laquelle de vos adresses e-mail vérifiées. Pour plus d’informations, consultez Vérification de votre adresse e-mail.
-
Dans le coin supérieur droit de n’importe quelle page, cliquez sur .
-
Dans la barre latérale à gauche, sous la liste des dépôts, utilisez la liste déroulante « Gérer les notifications » pour cliquer sur Paramètres de notification.
-
Sous « E-mail de notification par défaut », cliquez sur Routage personnalisé.

-
Cliquez sur Ajouter une nouvelle route.
-
Sélectionnez la liste déroulante Choisir une organisation, puis cliquez sur l’organisation que vous souhaitez personnaliser.
-
Sélectionnez l’une de vos adresses e-mail vérifiées, puis cliquez sur Enregistrer.

