Prerequisites
Before you enable GitHub presets for your repository, you should be familiar with their functionality and purpose. See Dependabot auto-triage rules.
Enabling GitHub preset rules
-
On GitHub, navigate to the main page of the repository.
-
Under your repository name, click Settings. If you cannot see the "Settings" tab, select the dropdown menu, then click Settings.

-
In the "Security" section of the sidebar, click Advanced Security.
-
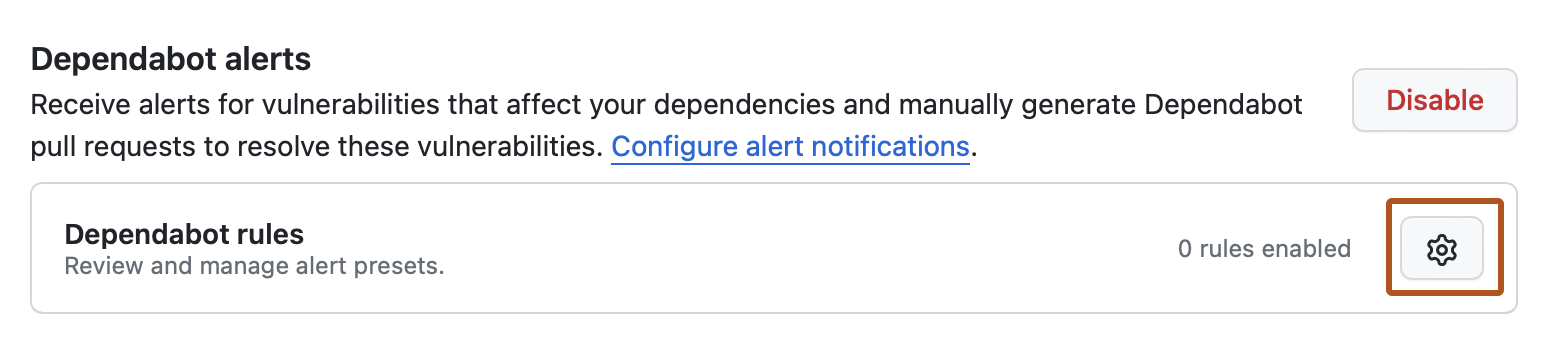
In the "Dependabot" section, to the right of "Dependabot rules", click .
-
In the "GitHub presets" section, to the right of the rule you want to enable, click .
-
In the "State" section, select the dropdown menu, then click Enabled.
-
Click Save rule.

