注意
您的GitHub帐户需要个人资料名称为必填项。 本文中介绍的所有其他个人资料信息都是选填的****。
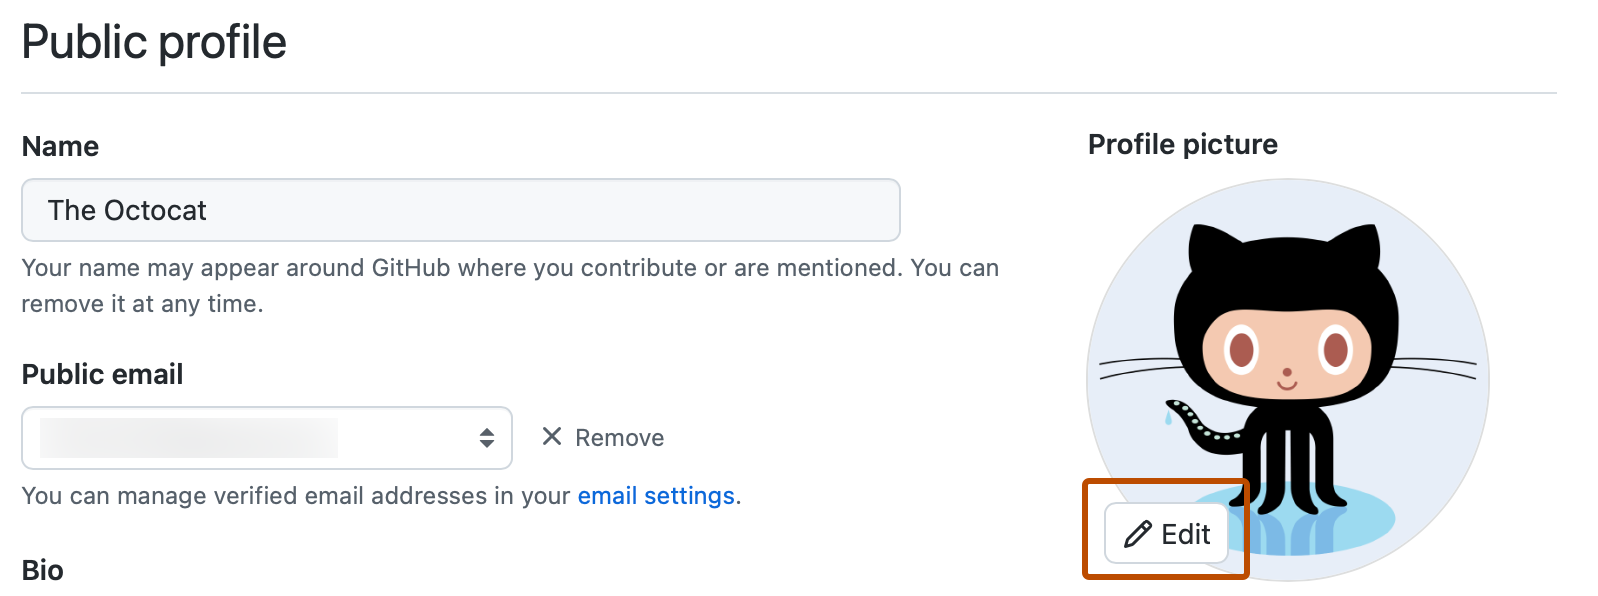
更改头像
你的个人资料图片有助于在GitHub的拉取请求、评论、贡献页面和图表中识别你。
设置头像
-
在 GitHub 任意页面的右上角,单击你的个人资料照片,然后单击“ Settings”****。
-
在“Profile Picture”下,选择“ Edit”,然后单击“Upload a photo...“********。
-
选择一个图像,然后单击“上传”。
-
裁剪图片。
-
单击“设置新的个人资料图片”。

将头像重置为默认肖像
-
在 GitHub 任意页面的右上角,单击你的个人资料照片,然后单击“ Settings”****。
-
在“个人资料图片”下,选择“ 编辑”,然后单击“ 删除照片 ”以还原到你的 identicon。
如果你的电子邮件地址关联了某个 Gravatar,则无法还原为默认肖像。 直接单击“还原为 Gravatar”****。
更改个人资料名称
配置文件 GitHub 名称 不需要 与真实身份相关联。
- 在 GitHub 任意页面的右上角,单击你的个人资料照片,然后单击“ Settings”****。
- 在“公开的个人资料”下,在“名称”字段中输入要显示在个人资料中的名称。
在个人资料中添加个人简介
-
在 GitHub 任意页面的右上角,单击你的个人资料照片,然后单击“ Settings”****。
-
在“公开的个人资料”下,在“个人简历”字段中输入要显示在个人资料中的内容。 个人资料字段限于 160 个字符。
提示
当你 @mention 组织时,只有你所属的组织才会自动填写。 你也可 @mention 不是其成员的组织(例如前雇主),但该组织名称不会自动填写。
-
单击“更新配置文件”。
向个人资料添加代词
在您的公共用户配置文件中添加代词,以便与其他 GitHub 用户共享关于您自己的信息。
-
在 GitHub 任意页面的右上角,单击你的个人资料照片,然后单击“ Settings”****。
-
请在“代词”下添加您希望在个人资料中显示的代词。 可以添加自定义代词。
-
单击“更新配置文件”。
设置位置和时区
- 在 GitHub 任意页面的右上角,单击你的个人资料照片,然后单击“ Settings”****。
- 在“公开的个人资料”下,在“位置”字段中输入要显示在个人资料中的位置。
- (可选)在个人资料上显示当前本地时间。
- 选择“显示当前本地时间”。
- 选择“时区”下拉菜单,然后单击本地时区。
- 单击“更新配置文件”。
向社交帐户添加链接
最多可在个人资料中添加四个指向社交帐户的链接。
- 在 GitHub 任意页面的右上角,单击你的个人资料照片,然后单击“ Settings”****。
- 在“社交帐户”下的空白“链接到社交个人资料”字段中,输入社交帐户的完整 URL。 例如,对于
@GitHubTwitter 帐户,请键入https://twitter.com/github。 - 单击“更新配置文件”。
将 ORCID iD 添加到个人资料
如果您是拥有 ORCID iD 的研究人员,可以通过将 ORCID iD 添加到个人资料中来表明身份。
- 在 GitHub 任意页面的右上角,单击你的个人资料照片,然后单击“ Settings”****。
- 在“ORCID iD”下,单击连接 ORCID iD。
- 按照步骤登录到 ORCID 帐户,然后返回到 GitHub。
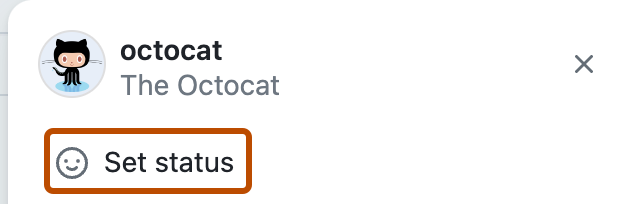
设置状态
你可以设置状态以显示有关你当前可用性的详细信息。
-
在右上角GitHub,单击个人资料图片,然后单击 “设置状态”,或者,如果已设置状态,请单击当前状态。
-
在“在做什么?”字段中,输入状态消息。
-
(可选)若要设置表情符号状态,请单击 ,然后单击列表中的表情符号。
-
(可选)如果想表示您的可用性受限,请选择“Busy(忙碌)”。
-
选择 “过期 ”下拉菜单,然后单击希望状态过期的时间。 如果不选择状态到期时间,您的状态将保持到您清除或编辑状态为止。
-
选择对谁可见下拉菜单,然后选择你希望谁能看到你的状态。 如果不选择组织,您的状态将是公共的。
-
单击“设置状态”。

后续步骤
-
若要了解更多有关GitHub个人主页的信息,请参阅 关于您的个人资料。
-
有关参考信息,请参阅 配置文件引用。
-
有关更详细的个人资料自定义,请参阅“GitHub 帐户和个人资料操作说明”。