Organization alerts notification options
If you're an organization owner, you'll receive email notifications by default when organization members add new deploy keys to repositories within the organization. You can unsubscribe from these notifications. On the notification settings page, under "Organization alerts", deselect Email.
Choosing where your organization’s email notifications are sent
If you belong to an organization, you can choose the email account you want notifications for organization activity sent to. For example, if you belong to an organization for work, you may want your notifications sent to your work email address, rather than your personal address.
You'll only receive notification emails if you've chosen to receive email notifications in your notification settings.
-
In the upper-right corner of any page, click .

-
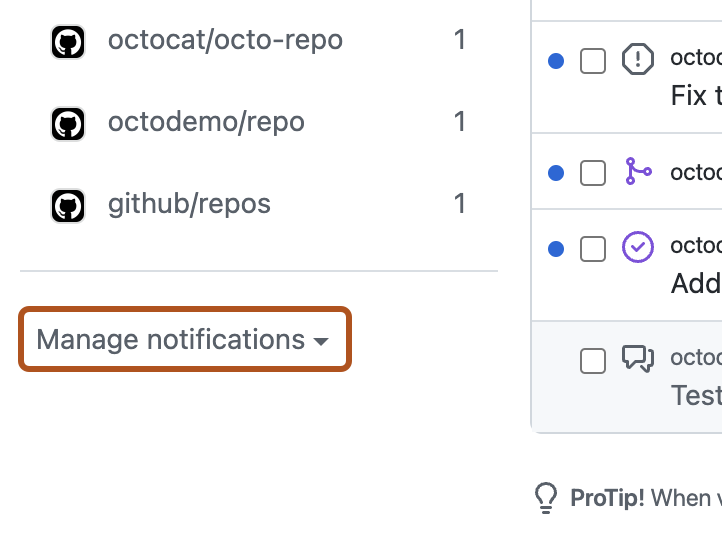
In the left sidebar, under the list of repositories, use the "Manage notifications" drop-down to click Notification settings.

-
Under "Default notifications email", select the email address you'd like notifications sent to.
-
Click Save.
Customizing email routes per organization
If you are a member of more than one organization, you can configure each one to send notifications to any of the email addresses for your account.
-
In the upper-right corner of any page, click .

-
In the left sidebar, under the list of repositories, use the "Manage notifications" drop-down to click Notification settings.

-
Under "Custom routing", find your organization's name in the list.
-
Click Edit next to the email address you want to change.
-
Select one of your verified email addresses, then click Save.