조직 경고 알림 옵션
조직 소유자인 경우 조직 구성원이 조직 내 리포지토리에 새 배포 키를 추가하면 기본적으로 메일 알림을 받습니다. 해당 알림을 구독 취소할 수 있습니다. 알림 설정 페이지의 "조직 경고" 아래에서 이메일을 선택 취소합니다.
조직의 메일 알림이 전송되는 위치 선택
조직에 속한 경우 조직 활동에 대한 알림을 보낼 메일 계정을 선택할 수 있습니다. 예를 들어 회사 조직에 속한 경우 개인 주소가 아닌 회사 메일 주소로 알림을 보내도록 할 수 있습니다.
알림 설정에서 메일 알림을 수신하도록 선택한 경우에만 알림 메일을 받게 됩니다.
멤버로 속해 있는 조직에서 메일 알림을 승인된 메일 도메인으로 제한하는 경우 조직 내 활동에 대한 메일 알림을 받으려면 해당 도메인의 메일 주소를 확인해야 합니다. 자세한 내용은 조직에 대한 메일 알림 제한을(를) 참조하세요.
-
페이지의 오른쪽 위 모서리에서 을(를) 클릭합니다.

-
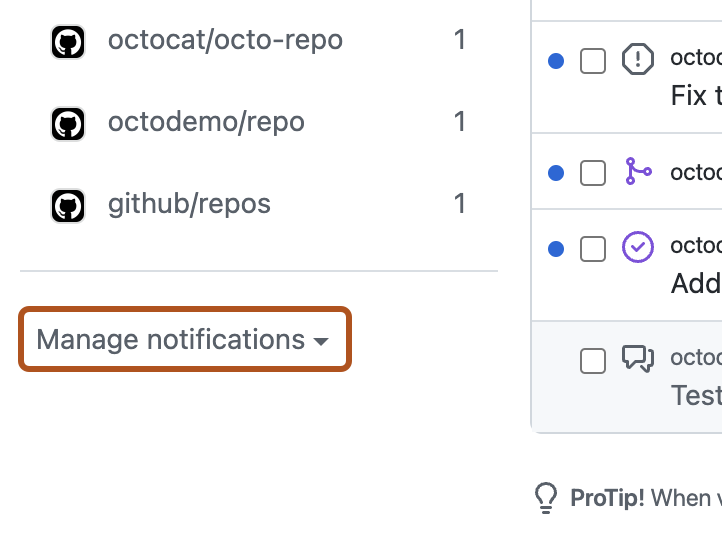
왼쪽 사이드바의 리포지토리 목록에서 “알림 관리” 드롭다운을 사용하여 알림 설정을 클릭합니다.
-
“기본 알림 이메일”에서 알림을 보낼 이메일 주소를 선택합니다.


조직당 메일 라우팅 사용자 지정
둘 이상의 조직에 속한 경우 확인된 메일 주소로 알림을 보내도록 각각 구성할 수 있습니다. 자세한 내용은 이메일 주소 확인을(를) 참조하세요.
-
페이지의 오른쪽 위 모서리에서 을(를) 클릭합니다.
-
왼쪽 사이드바의 리포지토리 목록에서 “알림 관리” 드롭다운을 사용하여 알림 설정을 클릭합니다.
-
"기본 알림 이메일"에서 사용자 지정 라우팅을 클릭합니다.

-
새 경로 추가를 클릭합니다.
-
조직 선택 드롭다운을 선택한 다음 사용자 지정할 조직을 클릭합니다.
-
확인된 메일 주소 중 하나를 선택한 다음 저장을 클릭합니다.

