You can filter by your single select fields by specifying the option, for example: fieldname:option. You can filter for multiple values by providing a comma-separated list of options, for example: fieldname:option,option. For more information, see Filtering projects.
Single select fields can contain up to 50 options.
Adding a single select field
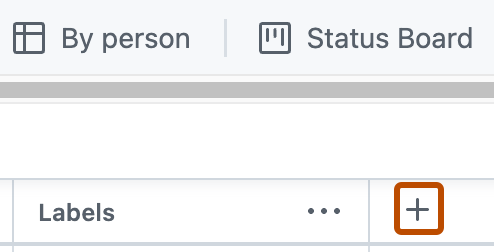
- In table view, in the rightmost field header, click .
- Click New field.
- At the top of the dropdown, type the name of your new field.
- Select Single select
- Below "Options", type the first option.
- To add additional options, click Add option.
- Click Save.

Setting a default value
Choose an existing option as the default value for a single select field. New items added to the project are automatically pre-populated with that option.
- Access your project's settings.
- Click the name of the single select field to configure.
- In the list of options, select the option to use as the default.
- Click Save.
To remove a default value, deselect the currently selected default option, then click Save. Removing a default value does not affect existing items in the project.
Editing a single select field
You can set descriptions and colors for each of your single select options.
-
Access your project's settings.
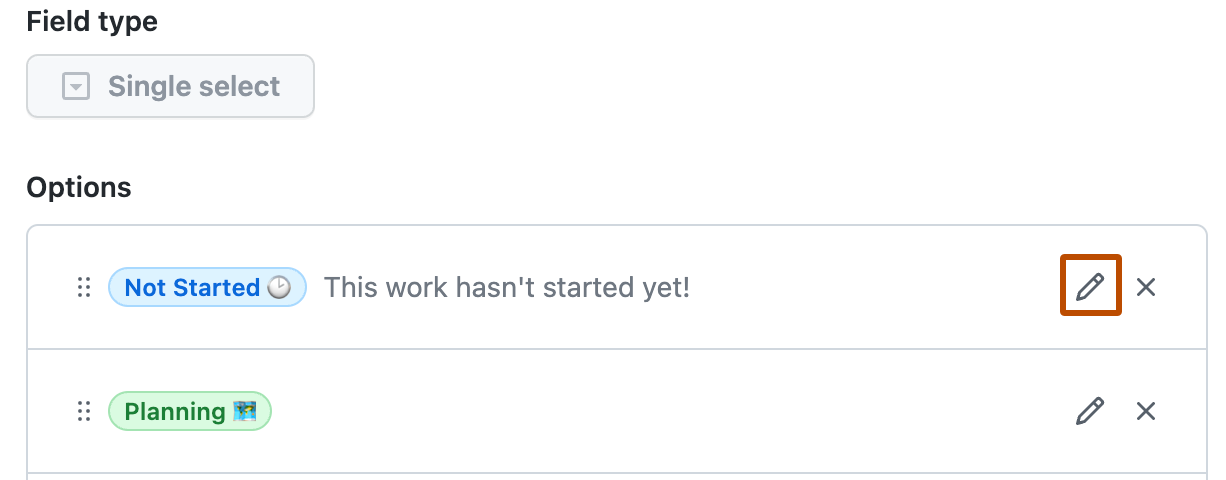
-
To the right of the single select field you want to edit, click .
-
In the modal that opens, under Label text, type the name of this option.
-
Optionally, under Color, select the color you want to use to represent this option.
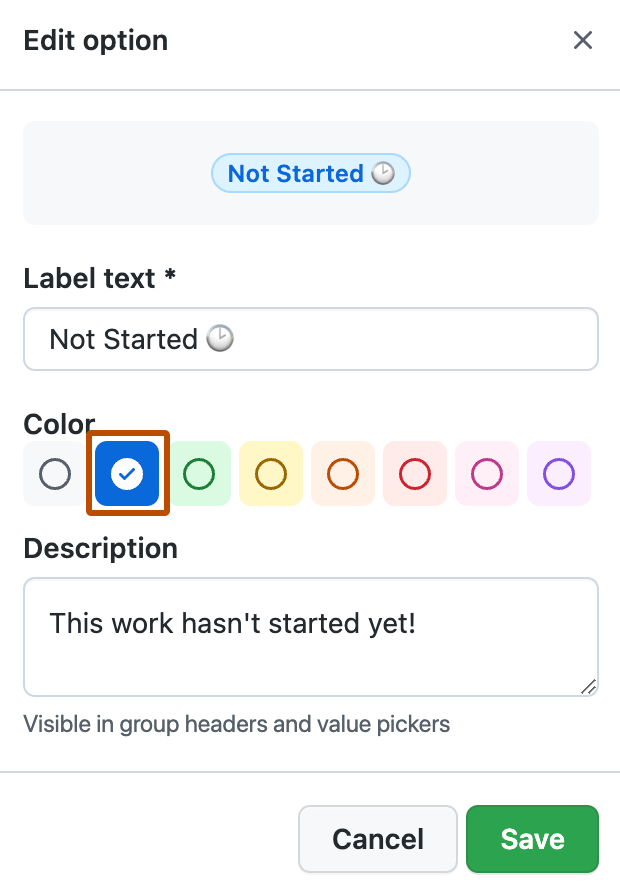
-
Optionally, under Description, type a description for this option.
-
Click Save to save your changes.

