When you use the default authentication method, all authentication details are stored within your GitHub Enterprise instance. Built-in authentication is the default method if you don’t already have an established authentication provider, such as LDAP, SAML, or CAS.
In this guide:
- Configuring built-in authentication
- Two-factor authentication
- Creating your account and adding users
Configuring built-in authentication
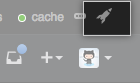
In the upper-right corner of any page, click .
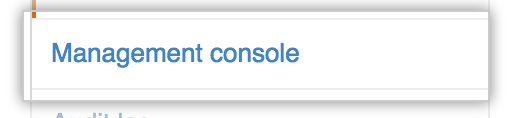
In the left sidebar, click Management Console.
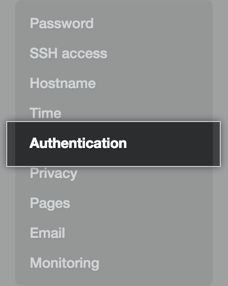
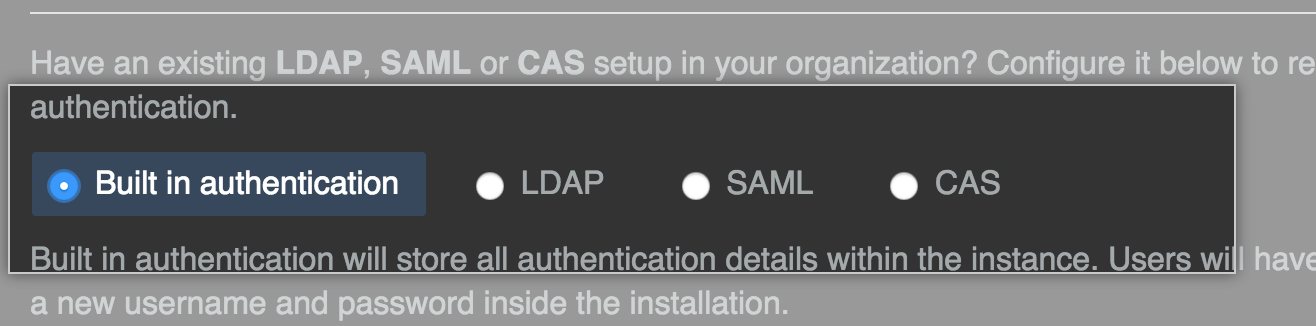
In the left sidebar, click Authentication.
Select Built in authentication.
Two-factor authentication
When using LDAP or built-in authentication, two-factor authentication is supported. Organization administrators can require members to have two-factor authentication enabled.
Creating your account and adding users
Once your instance has been created, you'll need to create your own admin account and use it to provision users.
- On the "Create Admin Account" page at
http(s)://[hostname]/join, choose your username, password, and email address, then click Create an account.
Sign in to your GitHub Enterprise instance at
http(s)://[hostname]/login.In the upper-right corner of any page, click .
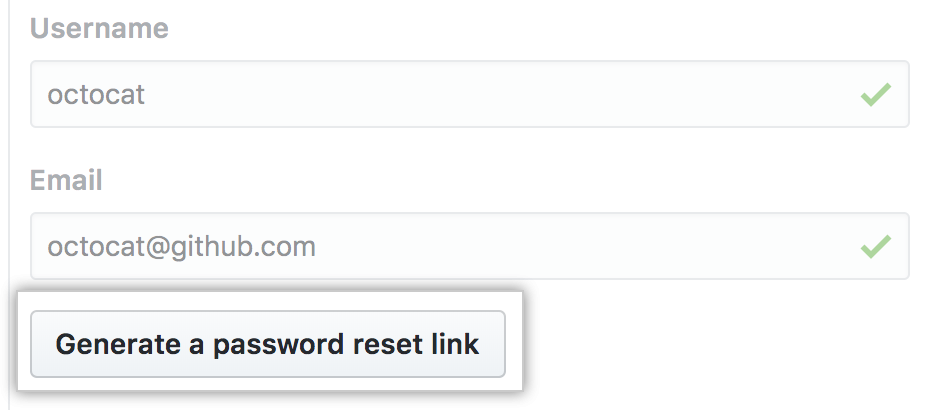
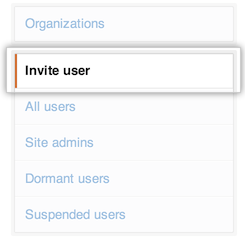
In the left sidebar, click Invite user.
Type the username and email address for each of the user accounts that you'd like to create, then click Generate a password reset link.