Note
Your profile name for your is GitHub account is required. All other profile information described in this article is optional.
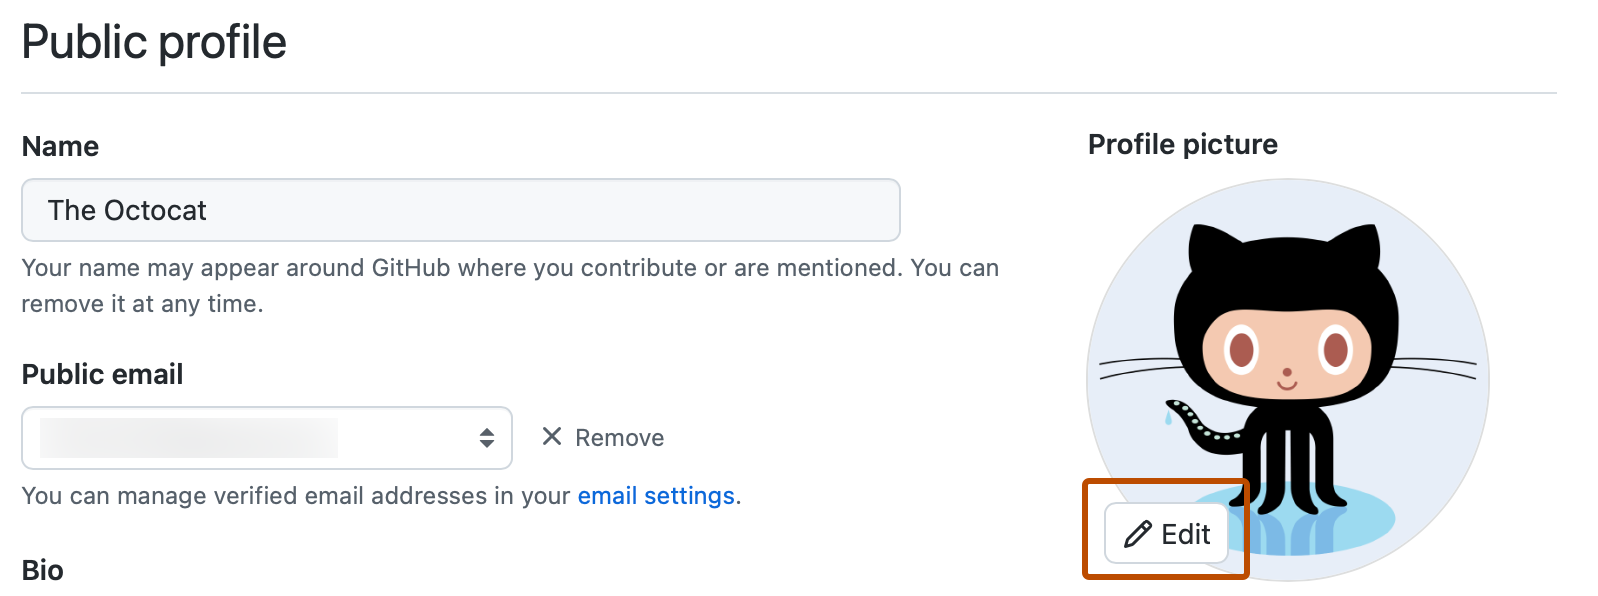
Changing your profile picture
Your profile picture helps identify you across GitHub in pull requests, comments, contributions pages, and graphs.
Setting a profile picture
-
In the upper-right corner of any page on GitHub, click your profile picture, then click Settings.
-
Under "Profile Picture", select Edit, then click Upload a photo....
-
Select an image, then click Upload.
-
Crop your picture.
-
Click Set new profile picture.

Resetting your profile picture to the identicon
-
In the upper-right corner of any page on GitHub, click your profile picture, then click Settings.
-
Under "Profile Picture", select Edit, then click Remove photo to revert to your identicon.
If your email address is associated with a Gravatar, you cannot revert to your identicon. Click Revert to Gravatar instead.
Changing your profile name
Your GitHub profile name does not need to correlate with your real-world identity.
- In the upper-right corner of any page on GitHub, click your profile picture, then click Settings.
- Under "Public profile", in the "Name" field, type the name you want to be displayed on your profile.
Adding a bio to your profile
-
In the upper-right corner of any page on GitHub, click your profile picture, then click Settings.
-
Under "Public profile", in the "Bio" field, type the content that you want displayed on your profile. The bio field is limited to 160 characters.
Tip
When you @mention an organization, only those that you're a member of will autocomplete. You can still @mention organizations that you're not a member of, like a previous employer, but the organization name won't autocomplete for you.
-
Click Update profile.
Setting your location and time zone
- In the upper-right corner of any page on GitHub, click your profile picture, then click Settings.
- Under "Public profile", in the "Location" field, type the location you want to be displayed on your profile.
- Optionally, display the current local time on your profile.
- Select Display current local time.
- Select the Time zone dropdown menu, then click your local time zone.
- Click Update profile.
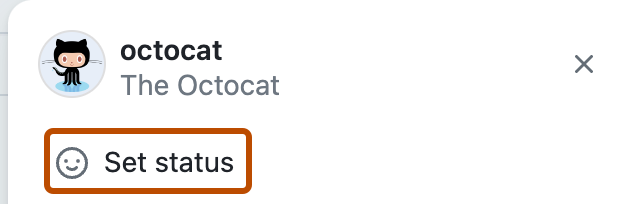
Setting a status
You can set a status to display information about your current availability.
-
In the top right corner of GitHub, click your profile picture, then click Set status or, if you already have a status set, click your current status.
-
In the "What's happening" field, type a status message.
-
Optionally, to set an emoji status, click , then click an emoji from the list.
-
Optionally, if you'd like to share that you have limited availability, select "Busy."
-
Select the Expiration dropdown menu, then click when you want your status to expire. If you don't select a status expiration, you will keep your status until you clear or edit your status.
-
Select the Visible to dropdown menu, then click who you want your status visible to. If you don't select an organization, your status will be public.
-
Click Set status.

Next steps
-
To learn more about GitHub profiles, see About your profile.
-
For reference information, see Profile reference.
-
For more detailed profile customizations, see How-tos for your GitHub account and profile.